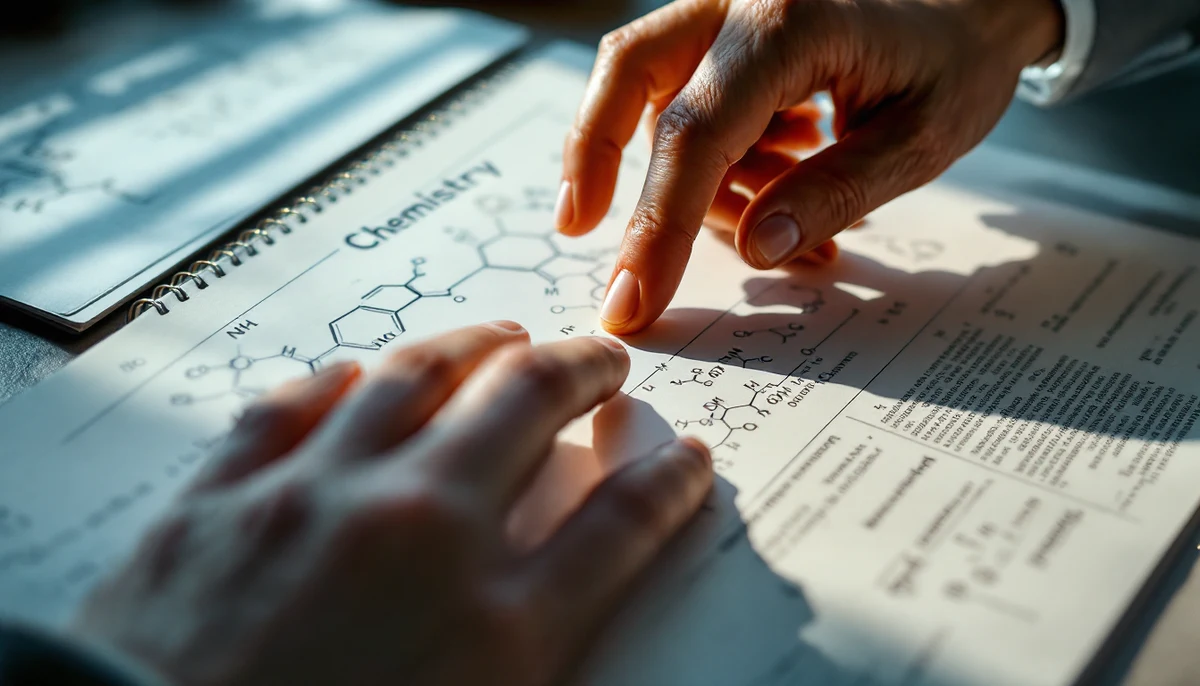
Image description: Two hands gently exploring a raised-line tactile diagram of a chemistry molecule on swell paper, lit from the side so the texture of the raised lines is clearly visible — the production-primer marker for tactile graphics in STEM education.
Reading Time: 12 minutes
Tactile graphics are the bridge between a sighted STEM curriculum and a blind or low-vision student. A chemistry teacher who hands a sighted class a printed benzene ring and a wedge-bond stereochemistry diagram needs a parallel object the blind student can read with their fingers — not a verbal description, not an after-the-fact audio recording, but a physical artefact the student touches at the same desk, at the same minute, doing the same problem. Producing that artefact at the speed a real classroom moves is a craft, and the choice of technique — raised-line drawing, swell paper, or 3D printing — is the single biggest determinant of whether the artefact arrives in time, in budget, and at the right level of detail.
This piece is a production primer. It compares the three dominant techniques used in STEM tactile-graphic production today on the four axes that matter to a school transcription unit, a university disability-services office, or a non-profit braille press: cost per copy, durability under classroom handling, complexity of the image the technique can carry, and classroom workflow — how the artefact moves from teacher request to student desk. It closes with a decision tree organised by subject so a transcriber facing a fresh request can pick the right method in under a minute.
The three techniques, compared
The tactile-graphic toolkit has consolidated around three production routes. Each has a different physical mechanism, a different cost curve, and a different sweet spot in the curriculum. A well-equipped transcription unit runs all three side by side and routes each incoming request to the one that fits.
Raised-line drawings (collagraph, thermoform, embossed)
Raised-line drawings are the oldest technique and still the most common at the primary level. The original drawing is built by hand on a master surface — a sheet of cardstock with lines drawn in puffy fabric paint, glue beads, or string; a collagraph master built up from textured materials; or a metal or styrene plate from which the image is embossed mechanically. The master is then either used directly (one master, one tactile sheet, one student) or thermoformed: a sheet of brail-grade plastic (typically 100-micron PVC or polyethylene) is heated and vacuum-pressed onto the master, taking on the master’s relief as a smooth, durable copy. The thermoform copy is what reaches the student.
Embossed raised-line drawings produced on a tactile graphics embosser — the ViewPlus Tiger family, the Index Braille Everest with graphics firmware, the IRIE Braille Trail Reader and similar — are a distinct sub-route. The embosser pushes dots and lines directly into braille paper from a digital file (BRF for braille text, plus a vector graphics layer for the image). Output is faster than collagraph thermoforming and the files can be archived for re-prints, but the relief is shallower and the line library is restricted to what the embosser firmware supports.
Swell paper (capsule paper, microcapsule paper)
Swell paper — also called capsule paper or microcapsule paper, sold under brand names including Zychem, Tactile Vision, Minolta, and Pictureintouch — is a sheet of specially coated paper whose surface contains heat-expanding microcapsules. Anything printed or drawn onto the paper in carbon-black ink (laser printer, photocopier, or carbon black marker) absorbs heat when the sheet is run through a swell-paper fuser. The black areas swell to roughly 0.5 mm above the paper surface; the un-inked areas stay flat. The result is a raised-line tactile image produced from a black-and-white printout in roughly 30 seconds per sheet.
Swell paper is the swing technique: it sits between the hand-craft of collagraph and the fabrication time of 3D printing. A teacher can email a PDF graph at 9 a.m., the transcription unit prints it, runs it through the fuser, and the student has the tactile copy in hand by 9:10. The trade-off is that the image is restricted to two-level relief (raised or flat — no intermediate heights) and the resolution is bounded by the printer’s dot pitch combined with the swelling behaviour of the microcapsules.
3D printing (FDM with PLA or PETG)
3D printing in tactile-graphics work is overwhelmingly fused-deposition modelling (FDM) using PLA (polylactic acid) or PETG (glycol-modified polyethylene terephthalate) filament on a desktop printer in the 200 EUR to 1,500 EUR range — Prusa MK4, Bambu Lab P1S, Creality Ender, Original Prusa MINI+ and their educational variants. The artefact is a true 3-D object, not a raised flat image: a benzene ring with the hydrogens projecting at the right angles, an anatomical heart with chambers a student can put a finger inside, a fossil cast at the same scale as the original, a topographic map with mountains a student can feel in proportion to their height.
PLA is the default filament for tactile education: it prints reliably at low temperature, smells benign, takes paint and labelling well, and breaks cleanly rather than shattering. PETG is preferred where the artefact will be passed between students, dropped, or used wet (lab settings, anatomy demos that involve a tracer fluid) — it is tougher and more heat-resistant. Resin printing (SLA) appears occasionally for fine molecular-model work but is rare in the classroom because of the post-processing and the toxicity of the uncured resin.
Cost, time, and durability
The four axes that matter to a transcription unit operate on very different scales for each technique. The headline numbers below are realistic 2026 ranges for a mid-size European or North American school transcription unit producing for an in-house catchment — not the bulk-press cost of a national braille publisher, not the one-off cost of a hobbyist printing at home.
- Raised-line (collagraph + thermoform): master takes 20 to 90 minutes of skilled hand work; each thermoform copy then costs approx. 0.15 EUR in plastic and 1 to 2 minutes of fuser time. Durability is excellent — a thermoform sheet survives a school year of daily handling. Master can be re-pressed hundreds of times. The cost concentrates in the master: the more copies you press, the lower the per-copy cost falls. Best suited to images you will press at least 5 to 10 times.
- Raised-line (embosser): per-sheet cost is the braille paper, approx. 0.05 EUR per A4 sheet; production time is 30 to 90 seconds per sheet. Durability is moderate — braille paper softens over weeks of handling and the dots flatten. The embosser itself is the capital cost: a tactile-graphics-capable unit is 3,500 to 9,500 EUR.
- Swell paper: per-sheet consumable cost is approx. 1.20 to 1.80 EUR per A4 sheet; production time is roughly 30 seconds in the fuser plus printer time. Durability is moderate — a swell-paper sheet lasts a class session of intense touching but begins to crush after repeated handling; many units laminate the result to extend life. Fuser is approx. 1,200 to 2,500 EUR. Best suited to one-shot images for a single lesson.
- 3D printing (FDM, PLA): material cost is approx. 0.30 to 1.20 EUR per A5-size object depending on infill and wall thickness; print time is 30 minutes to 8 hours per object. Durability is excellent — a PLA molecular model survives a multi-year curriculum and can be re-issued to successive student cohorts. Printer is approx. 250 to 1,500 EUR. Best suited to objects you will keep in a permanent classroom kit, not to ephemeral worksheet-style graphics.
The pattern in those numbers is that the three techniques are not competitors — they map cleanly onto three different request profiles. Raised-line wins when an image will be re-pressed many times; swell paper wins when an image is needed once, today; 3D printing wins when a physical object will be re-used across cohorts and the third dimension genuinely carries information the flat techniques cannot represent.
What each technique does well — and where it fails
The decision is not only about cost. Each technique has a distinct envelope of image complexity it carries well, and a region beyond that envelope where the artefact misleads the student. A transcriber who mis-routes a request can produce an artefact that the student handles, fails to read, and reasonably blames their own touch sensitivity for — when the actual failure is in the production choice.
Raised-line: what it carries well
Collagraph and thermoform raised-line drawings carry maps and diagrams with a small number of confident lines better than any other technique. A continent outline, a watershed, a national-border map, a circuit diagram with a dozen components, a Punnett square, a geometric construction — anything where the line is the information and the line count is countable. The thermoform plastic gives a smooth, slightly waxy surface that the finger glides across, picking up the edges cleanly. Embossed dots can mark city locations or labelled points. The master can be combined with braille labels printed on a separate strip and glued in.
Where raised-line fails: dense images with hundreds of small features (a histology slide, a particle-physics event display), and any image where the third dimension carries real information (an organic-chemistry stereoisomer, a topographic relief). The technique flattens what should be in depth.
Swell paper: what it carries well
Swell paper carries graphs, charts, data-visualisation images, and any image that begins life as a black-and-white printable PDF. A bar chart, a line graph from a calculus problem set, a scatter plot in a statistics worksheet, a coordinate plane with two curves intersecting, a flow diagram, a phase diagram — anything where the original is a clean line drawing already drawn in software. Swell paper preserves the topology of the image (which line crosses which, where the intersections are) far better than embossing, because the underlying laser printer can put a thinner line than an embosser dot can.
Where swell paper fails: anything with fine fill patterns (the technique cannot render different fill textures clearly — the swelling smooths them out), anything where multiple lines run very close together (they merge in the swelling), and any image needing depth or 3-D structure.
3D printing: what it carries well
3D printing carries molecular models, anatomical structures, fossil casts, topographic maps with real relief, mathematical surfaces (the hyperboloid, the saddle, the Mobius strip), and any artefact whose point is the third dimension. A benzene ring in 3D printing has the planar geometry of the carbon skeleton AND the hydrogens projecting out of the plane at the correct angles — a student feels not only the connectivity but the geometry of the bonds, which is the actual lesson. An anatomical heart printed at scale lets the student locate the ventricles and the great vessels in three dimensions. A printed fossil cast at the same scale as the original lets the student handle the morphology a sighted student sees through the museum glass.
Where 3D printing fails: rapid production for tomorrow’s worksheet (the queue, the print time, and the slicing setup all push back against same-day delivery), and very large flat images that would print as a brittle sheet — those should stay on swell paper or thermoform.
Decision tree by subject
A working transcription unit needs a routing rule a colleague can apply without consulting anyone. The following decision tree maps the most common STEM-curriculum image types to their best production route. Treat it as the default; an experienced transcriber will override the default occasionally, but the override should be a deliberate choice, not a guess.
- Chemistry — molecules, lattices, reaction mechanisms with stereochemistry: 3D printing. The third dimension carries the lesson. PLA is fine for organic molecules and lattices; PETG for models that will be passed between students.
- Chemistry — 2D structural formulae (line drawings of organic molecules without stereochemistry), the periodic table, simple reaction arrows: swell paper. The image is a clean line drawing that fits the technique’s envelope.
- Mathematics — graphs (functions, scatter plots, bar charts), coordinate planes, geometric constructions, Venn diagrams, flow charts: swell paper. These start life as printable PDFs and the topology is what the student needs to read.
- Mathematics — 3D surfaces, polyhedra, the Mobius strip, knot diagrams as physical objects, volume-of-revolution solids: 3D printing. The artefact is the lesson.
- Biology — anatomical organs, organisms at scale, cell-organelle structure, skeletal structures: 3D printing. Anatomy is intrinsically three-dimensional.
- Biology — Punnett squares, food webs, phylogenetic trees, life cycles drawn as flow diagrams: swell paper or thermoform raised-line, depending on re-use frequency. Punnett squares re-press well as thermoform masters.
- Physics — circuit diagrams, ray-tracing diagrams, force-vector diagrams, free-body diagrams: thermoform raised-line for the high-frequency curriculum staples (will be pressed dozens of times); swell paper for one-off problem-set images.
- Physics — wave-form graphs, oscilloscope traces, energy-level diagrams: swell paper. Line drawings on a coordinate plane.
- Geography and earth science — political maps, watersheds, plate-boundary maps: thermoform raised-line. Maps are the historic strength of the technique.
- Geography and earth science — topographic relief maps, fault-and-fold structures, glacial-landform cross-sections: 3D printing. The relief carries the meaning.
- Geology and palaeontology — fossil casts, mineral crystal habits, igneous-intrusion cross-sections: 3D printing. Cast directly from the specimen or from a 3D scan if the museum has digitised its collection.
- Engineering and computer science — block diagrams, network topologies, state machines, UML diagrams: swell paper. Clean line drawings, low re-use, last-minute production.
- Astronomy — constellations, planetary-orbit diagrams, lunar-phase sequences: swell paper for the diagrams; 3D printing for scale-model planetary objects if the curriculum includes a “feel the relative size” lab.
The pattern that emerges: the third dimension is the great divider. If the lesson depends on a student feeling depth or 3-D geometry, print it. If the lesson depends on reading lines and topology on a flat surface, swell-paper it. If the image will be re-used across cohorts and is fundamentally flat, thermoform it.
Production workflow — moving an image from teacher request to student desk
The technique choice is only half the production discipline. The other half is the workflow that takes a teacher’s source image through transcription, production, quality-check and delivery — at the speed a classroom actually moves. A transcription unit that picks the right technique but ships in 72 hours is failing the student the same way a unit that ships fast but with the wrong technique fails them.
Source intake and audit
Source files arrive in three states: clean (a vector PDF from a textbook publisher’s accessible-materials portal), reasonable (a raster image extracted from a course-pack PDF), or hostile (a phone photograph of a whiteboard sketch, an embedded equation as a rendered image, a textbook page scanned at low resolution). The intake step audits the source against the technique short-list. A clean vector PDF is one swell-paper print away from delivery; a hostile source needs to be redrawn before any production step runs.
Simplification and tactile redrawing
Sighted graphics carry information at a density a touching finger cannot resolve. A tactile graphic is not the original image embossed; it is a redrawn image with non-essential detail removed, lines thickened to the technique’s minimum resolvable width (roughly 1.0 mm for swell paper, 1.5 mm for thermoform, 2.0 mm for embossed), labels moved out of the artwork and into a separate braille-labelled key, and overall complexity reduced to what a finger can scan in 30 to 60 seconds. The Braille Authority of North America (BANA) and the UK Association for Accessible Formats (UKAAF) both publish tactile-graphics guidelines that codify these rules; international practice converges on the same minimums.
Production and quality-check
The chosen technique’s production step runs. Quality-check is non-negotiable: a second transcriber — ideally one who has not seen the source — touches the artefact with eyes closed and reads it back. If they cannot recover the structure the source intended, the artefact returns to simplification. The QC step catches the failures that simplification missed: lines that merged in swelling, dots that flattened in thermoforming, infill that printed too sparsely in FDM. A QC step that catches one defective artefact in ten saves more transcriber time than it costs.
Delivery, labelling and archiving
The artefact is delivered with a braille label identifying the lesson, the date, the figure number in the source textbook, and a one-line description. The master (collagraph plate, swell-paper source file, 3D model file) is archived under the same identifier so a re-press is a one-click operation when the same lesson runs in a future cohort. A transcription unit that does not archive masters re-pays the simplification cost every time the curriculum cycles.
The bigger picture — equity, not exotica
Tactile graphics are sometimes presented as a “specialist” production. They are not. They are the routine equivalent of a sighted student’s printed worksheet, and the supply problem is a supply problem, not a research problem: the techniques are mature, the tools are commercially available at school-budget prices, the practitioner community has codified the rules. What is missing in most school systems is staffing — a single transcriber per school district, doing all subjects, all year groups, with no production deadline that recognises the actual classroom schedule. Closing that gap is what turns a blind student’s STEM experience from “I get the worksheet a week late and miss the discussion” to “I have the same artefact in my hand as the student next to me, at the same minute.”
For practitioners building a unit from scratch in 2026, the practical starting kit is: one swell-paper fuser plus a stack of capsule paper for same-day work, one tactile-graphics embosser for high-volume braille text plus simple graphics, one 200 to 800 EUR FDM 3D printer with a PLA spool catalogue for the molecular-model and anatomy curriculum, and a thermoform machine for the curriculum-staple raised-line graphics that will be pressed dozens of times per year. The total kit cost lands between 6,000 and 14,000 EUR — small money compared to a single year of one student’s lost STEM education. For the legislative-and-rights frame this work sits inside, see the Disability World article index; for the European procurement standard that public-sector buyers cite when purchasing accessible educational materials, see EN 301 549 explained; for the publishing standard that increasingly carries the accessible-textbook layer, see EPUB 3 for accessible publishing.
Primary sources and references
- Braille Authority of North America (BANA). Guidelines and Standards for Tactile Graphics (current edition). brailleauthority.org
- UK Association for Accessible Formats (UKAAF). Tactile diagrams — minimum standards. ukaaf.org
- International Council on English Braille (ICEB). Working-group documents on tactile graphics standardisation across English-speaking jurisdictions.
- American Printing House for the Blind (APH). Tactile Graphics — production handbook. aph.org
- ViewPlus Technologies — Tiger embosser product documentation and the IVEO swell-paper-and-tactile-audio workflow.
- Pictureintouch / Zychem — Minolta-style microcapsule paper product specification sheets.
- National Federation of the Blind (NFB). 3D-printing-for-the-classroom curriculum materials, 2022–2025 archive.
- Royal National Institute of Blind People (RNIB). Producing tactile graphics — a guide for transcribers.
- Prusa Research and Bambu Lab — desktop FDM printer technical specifications and educational-discount programmes, 2024–2026.